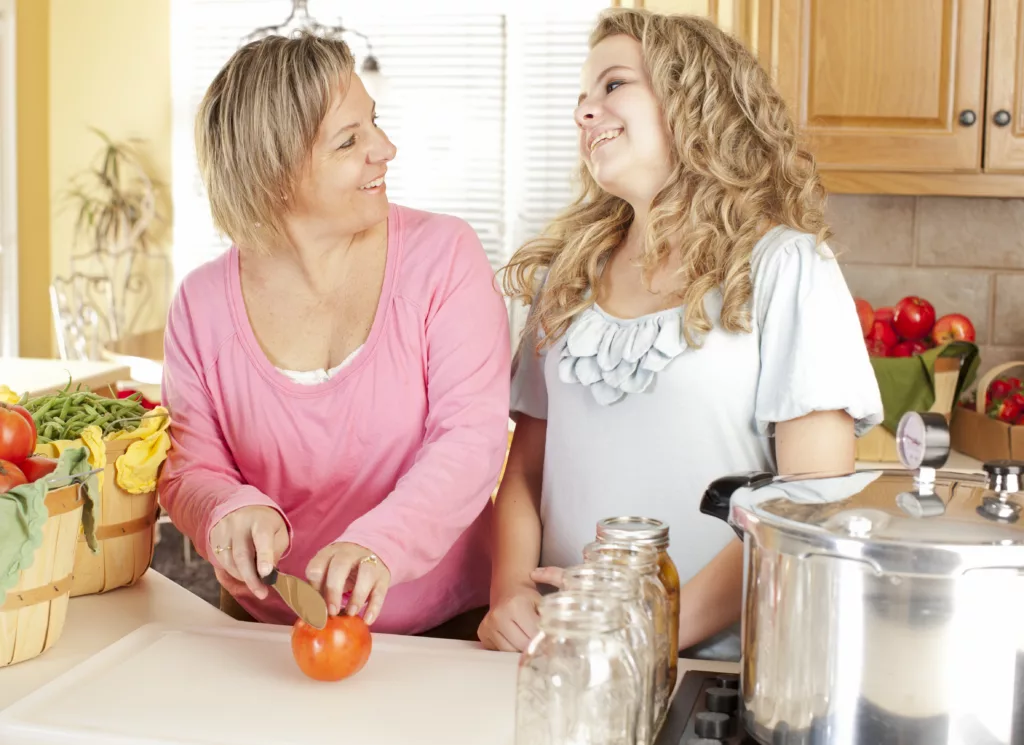
Canning is a great way to take control of your food supply and gain long-term storage for fruits, vegetables, jams and other items. It’s an empowering skill that can help you save money while still enjoying healthy home cooked meals. With just some basic knowledge and the right supplies, anyone can become a master at this age-old tradition.
In this article we will explore all aspects of canning for beginners – from choosing recipes to assembling equipment and everything in between. We’ll explain why it’s so important to understand the principles of safe home-canning practices before getting started. And finally, we’ll provide tips on how to make sure each batch turns out perfectly delicious every time!
With these tools under your belt, you’ll be well equipped with the confidence and know-how needed to embark on a rewarding journey into the world of canning – one full of flavor, nutrition and satisfaction! So let’s get started!
What Is Canning?
Canning is a great way to store and preserve food. It involves placing foods in jars, sealing them with canning lids, and then heating the contents under pressure or by immersing them in hot water (known as water bath canning). There are two basic methods of canning: pressure canning and water bath canning. Pressure canning is used for low acid foods such as meats, vegetables, soups and stews; while high acid foods like fruits, jams, jellies and pickles are best preserved using the water bath method.
In addition to the necessary equipment such as jars and lids, you’ll also need a few tools including a large pot for blanching certain items prior to packing them into the jars; tongs for handling hot objects; a jar lifter for removing heated jars from boiling liquids; and a funnel for filling your jars neatly without spilling. You’ll also want to find recipes that have been tested for safety so that you don’t risk botulism poisoning when consuming your canned goods.
Home-canned products look appealing on pantry shelves and taste delicious too! With just a small investment in time and energy, you can create all kinds of delightful meals that will last months or even years if stored properly – making home-canning an incredibly satisfying experience. Ready to reap the benefits? Let’s jump right into why home-canning rocks!
Benefits Of Home Canning
You may be surprised to learn that home canning offers numerous benefits – and yet, it is an often overlooked opportunity. From saving money on groceries to having the satisfaction of preserving food for later use, there are many advantages when one embarks upon a canning process for beginners.
One of the primary benefits of home canning is financial savings; using canned goods from your own kitchen instead of purchasing items from the store will not only save you money but also time spent shopping. Additionally, by utilizing these kits or labels provided with most canned foods today, you’ll know exactly what ingredients have gone into each recipe you make and reduce any guesswork about nutrition content or expiration dates. Furthermore, as long as you follow proper safety precautions during each step in the canning process (i.e., using a dial gauge or weighted gauge pressure canner, ensuring tight-fitting lids free of botulism spores), then your home-canned foods should remain safe and edible for months and even years at a time!
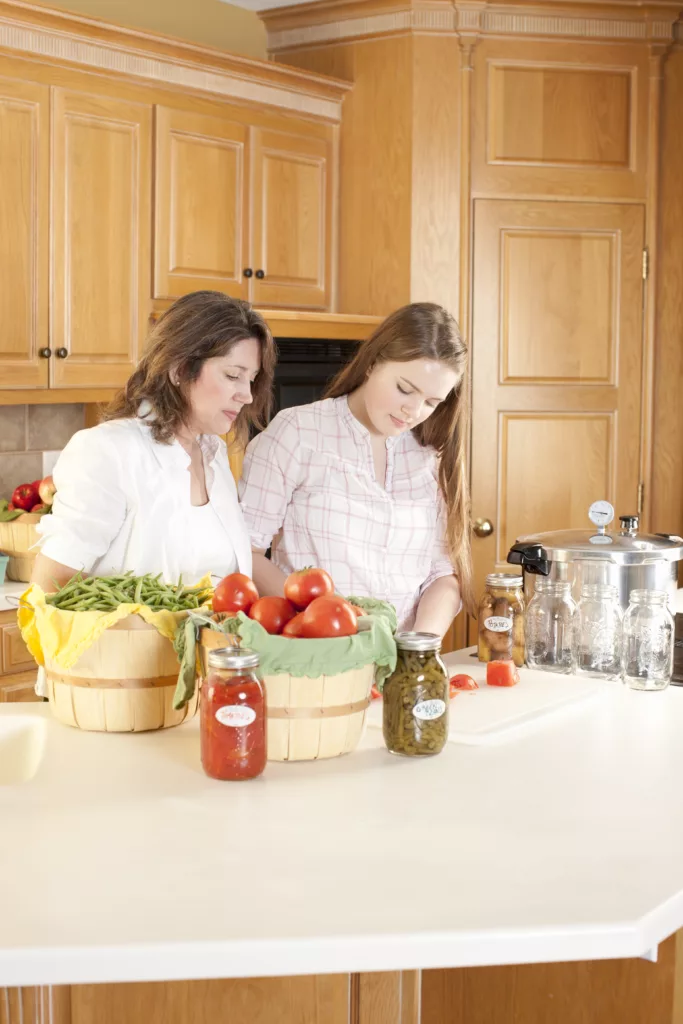
Home canning helps keep seasonal food fresh throughout the year while providing families with lasting memories through meals shared together; it even allows us to experiment with unique flavors like pickles or jams right in our very own kitchens! Plus, this method of food preservation ensures that we’re all consuming healthy produce grown locally rather than processed mass-produced items which often contain questionable additives. As such, embarking on a journey towards successful home canning will ultimately lead to delicious results worthy of pride – no matter if you’re just starting out or have been doing so for some time now! With those facts in mind, let’s move onto essential tools and equipment necessary for successful home canning.
Essential Tools And Equipment
Canning can be a rewarding activity that requires basic equipment and supplies. To get started, you’ll need to invest in the essential tools for water bath and pressure canning. Here is a list of what you will require:
- Pressure Canners
- Water Bath Canner
- Processing Times
- Canning Rack
In addition to these primary items, there are also some basic canning supplies that should be included in your toolkit. These include plastic funnels, tongs, measuring cups, ladles, jar lifters and other utensils designed specifically for safe home canning. It’s important to ensure that all of your canning equipment is clean before each use. You may want to purchase or rent a large canning pot as well if you plan on batch-canning multiple jars at once.
Having the right equipment helps make the job easier and safer while ensuring quality outcomes with each batch of canned goods. With just the basics outlined above – plus access to fresh ingredients – anyone who wants to start their own home-canning journey has everything they need to do so successfully! Now let’s move onto understanding the ins and outs of boiling water bath canning process overview.
Water Bath Canning Process Overview
The power of canning your own food is within reach! Water bath canning is a great place to start, as it’s relatively easy and the process has been tried-and-true for generations. But with any kind of canning, safety should always come first.
To begin water bath canning, you’ll need to gather all the necessary supplies: empty jars and lids, a large pot or stockpot, jar tongs and lifter (or a sturdy kitchen towel), and of course the food that will be put into the jars. After washing everything in hot soapy water – including hands – make sure each jar and lid are completely clean before beginning. A damp but clean kitchen towel can help keep things sanitary while preparing.
Botulism poisoning is one of the greatest fears when it comes to canned goods, so ensuring an airtight seal is key. Place filled jars into boiling water in a pot or stockpot; make sure there’s at least two inches of boiling water covering them at all times – more if needed. Boil on high heat until they’re sealed properly; this usually takes around 10 minutes per quart size jar. Remove from heat carefully using jar tongs or a sturdy kitchen towel after sealing occurs. Now you have successfully completed your first batch of home-canned goodies!
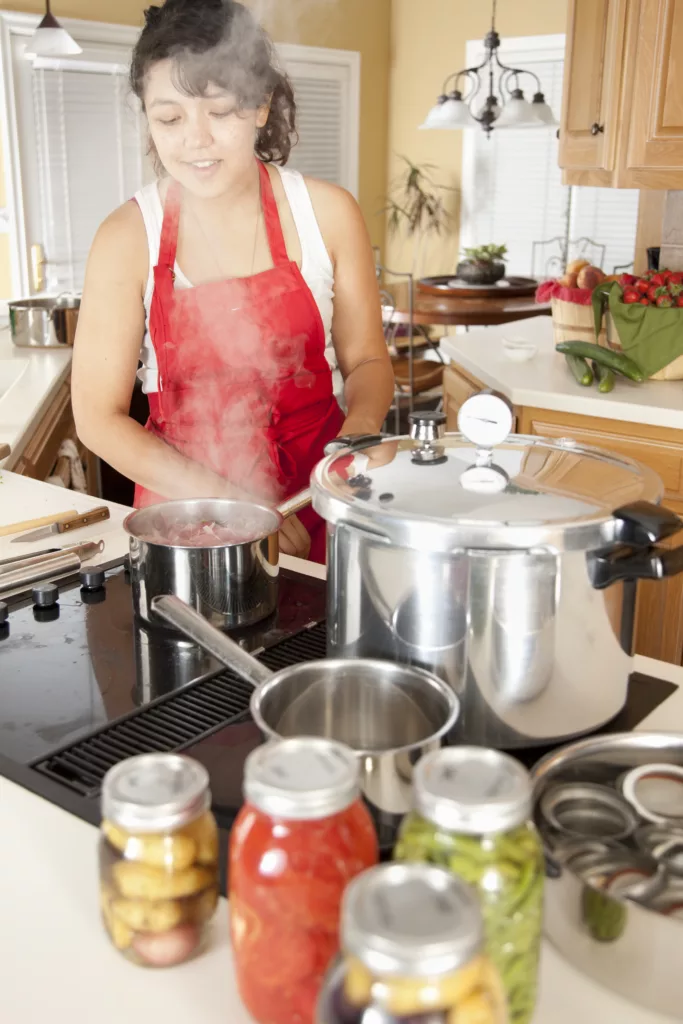
Pressure Canning Process Overview
Transitioning from the previous section, pressure canning is an important part of preserving food to last for a long period of time. Pressure canning involves using a pressure cooker with specific instructions and following safety protocols in order to protect the food. It is important to have a guide to canning and following recipes closely when starting out.
When it comes to pressure canning, citric acid helps prevents spoiling, while bubble removal tools help remove air pockets that may form during the process. Additionally, commercial pectin helps create jelly like consistency by binding together fruit or vegetables into one solid mass.
Pressure canning is especially important as there are dangerous bacteria such as Clostridium Botulinum found in low-acid foods which cannot be destroyed at boiling temperature alone. With this in mind, it’s essential that high temperatures are reached through gentle heating of hot mixtures in sealed containers under pressure over a certain amount of time and then cooled quickly afterwards; otherwise known as thermal shock. This results in food safety being maintained throughout the entire process! To ensure safe practices while pressure canning at home, we will explore some safety tips in our next section.
Safety Tips For Canning At Home
Canning can be a daunting task, but with the right safety tips and precautions it doesn’t have to be. Let’s dive into making sure your home-canned goods are as safe and delicious as possible!
To start off, make sure all of your utensils and equipment used in the process are clean – wash them with hot soapy water or place them in boiling water for five minutes. Additionally, always use fresh, raw food that is free from blemishes or bruises when canning; if you’re using frozen foods like applesauce or apple juice thaw the items before starting. When working with hot food like jams and jellies, use medium heat on the stovetop for best results. Also keep an eye out for any vacuum seals formed on jars when they cool down – this means there was not enough headspace left between the food mixture and jar rim which could cause spoilage.
Finally, don’t forget to add acidity to your canned products by adding a teaspoon of lemon juice per quart of liquid (for bottled lemon juice, follow instructions on label). And lastly, before taking cans off after processing time ends let them sit untouched for at least 24 hours then remove carefully from canner and set aside onto cloth towels until completely cooled. With these simple steps taken care of you will ensure that your canned goods are food safe!
Preparing The Produce For Canning
Now that you know the safety tips for canning, it’s time to get started! Depending on what type of food you are canning, preparation is key. Whether you are making fruit juice, tomato sauce, pie filling or canned fruits and vegetables, properly preparing your produce will result in a successful end product.
To begin prepping your ingredients, start by washing all fresh fruit and vegetables with cold water. Gently wipe them down with a damp paper towel before placing them onto a cutting board. Be sure to remove any bruises or discolored spots from the produce as well as removing stems from berries or sweet peppers. Cut into cubes, slices or halves depending on the size of the item- but be sure not to cut too small so that there is no risk of getting burned when handling hot preserves later on.
For items like jams and jellies that require additional ingredients such as sugar, pectin and lemon juice – measure out each ingredient into separate containers beforehand. This way everything is ready for use when needed without having to go back and forth between measuring cups and jars filled with boiling liquids – which could cause serious burns if handled incorrectly. Use smaller mayonnaise jars to contain individual measurements until they’re ready for combining during the actual canning process.
So now that all your ingredients have been washed and measured its time to move on to choosing recipes & measuring their respective ingredients – let’s get cooking!
Choosing And Measuring Ingredients For Recipes
When embarking on the journey of canning, it is important to understand that success relies heavily upon having the right supplies and ingredients. Achieving shelf-stable food preservation requires a delicate balance between warm water baths, correct pressure, and proper processing time. Selecting the best ingredients for your recipes will ensure they turn out perfectly every time.
It’s often tempting to tweak a recipe here or there when starting out with canning, but it’s essential to follow instructions closely in order to achieve desired results. The process of preserving food has been around for centuries because people have learned to perfect the art of understanding how much sugar and vinegar are needed in order to create delicious pickles and jams.
Having the necessary canning supplies—such as jars, lids, tools like jar lifters—as well as a reliable canning cookbook will provide you with all the information you need about safe food preservation. With these items at hand, you’ll be able to confidently measure out each ingredient according to your recipe without fear of spoiling any batch of homemade goods.
Now armed with knowledge about choosing and measuring ingredients correctly, our next step is filling and sealing up each jar properly so that we can enjoy our creations year round!
Filling And Lidding The Jars
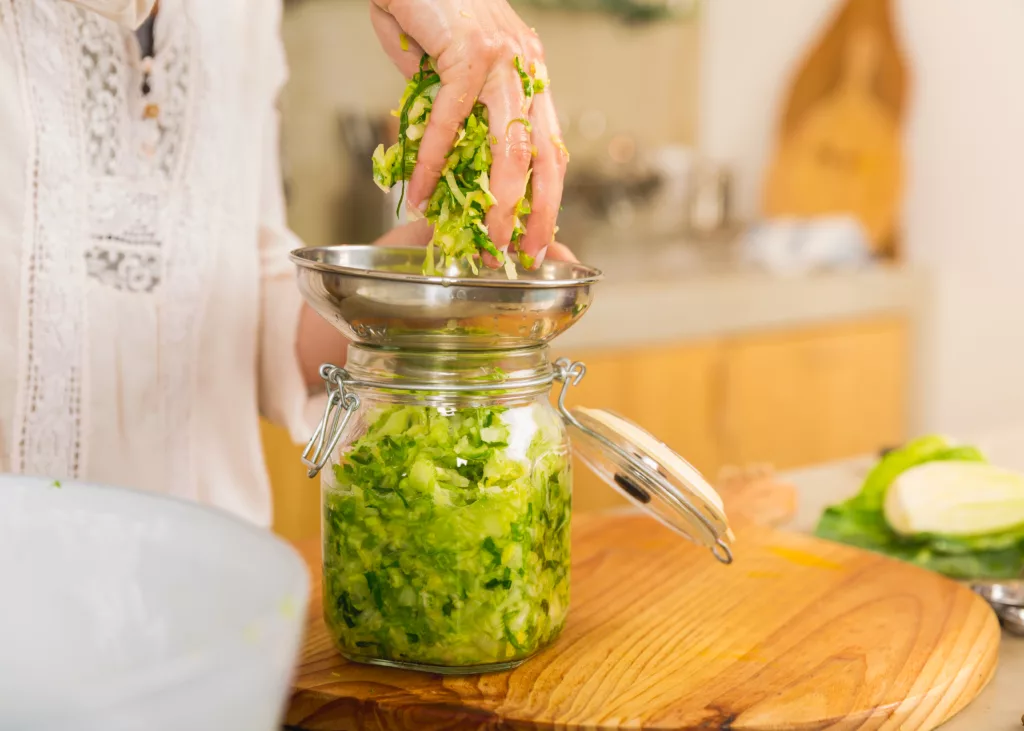
Once you have the necessary supplies, it’s time to fill and lid your jars. Start by preparing the food items according to your canning recipe – such as boiling or blanching vegetables before packing them in the jar. Make sure there are no air bubbles left in the jars when filling them with liquid; if needed, use a bubble remover tool. When adding fruit juices, make sure they’re bottled lime juice for best results. Liquid pectin should be added directly into the jars during this process.
After all of your jars are filled and lidded, check that each jar has been sealed correctly and is still vacuum-tight. You’ll know it has been properly closed if it doesn’t give off any sound or feel loose when touched lightly. If some of your jars don’t seal correctly, consider reusing them for other canning purposes instead of discarding them completely!
Now that you’ve successfully prepared your canning projects, it’s time to move on to processing your jars either in a water bath or pressure canner – depending on what type of food item you’re preserving. The amount of processing time varies based on many factors, so make sure to review the instructions thoroughly before beginning this step.
Processing The Jars In Water Bath Or Pressure Canners
Processing the jars in water bath or pressure canners is an important step for successful home preserving. To do this, you’ll need to get your basic supplies ready: a boiling water canner or a pressure canner; lids and bands for the jars; jar lifter; kitchen timer; and a few cloth towels. For those looking for more off-grid options, there are root cellars that provide ample storage space for canned goods without using electricity.
When choosing between a boiling water canner or a pressure canner, you should consider what type of food you’re trying to preserve. Boiling water canners are typically used for high acid foods like marinara sauce or apple sauce while pressure canners work well with low acid vegetables such as green beans, carrots, potatoes and corn. It’s also important to note that liquid pectins must be processed in either a boiling water canner or steam juicer due to their lower acid levels.
No matter which method you choose, it’s essential to follow the instructions carefully so that all bacteria is destroyed during the processing stage. If done properly, your cans will last up to two years if stored away from heat sources – making them perfect items for stocking up on affiliate links! Now let’s move on to testing the seals on your jars after processing – an equally important step in ensuring success with your home preservation efforts.
Testing The Seals On Jars After Processing
Ah, the thrill of testing the seals on jars after processing! If you’re anything like us, your heart rate increases and a sense of fear runs through your veins. After all, if we don’t do this correctly and get it right–we could end up with an outbreak of botulism in our home! No one wants that!
To test the seal on each jar, use a clean towel to gently tap around its lid. You’ll want to ensure there are no broken seals before storing or consuming your canned goods. A broken seal is usually accompanied by a disclosure policy telling you not to consume the contents due to potential bacteria growth. That’s why it’s essential to be extra careful when checking for any signs of contamination.
It’s also important to know what type of food item should go into which type of jar: foods processed in hot liquid need wide-mouth mason jars; dry heat requires narrow-necked canning jars; acidic liquids such as tomatoes require special acid-resistant glassware; while liquid pectin or store bought pectin needs either traditional wood stove vessel or enamelware pot with heavy lids. All these precautions must be taken seriously since they will determine whether our batches last long enough for consumption or spoil prematurely from lack of care.
Now that we’ve reviewed how to check for proper sealing, let’s move on to learning about storing canned goods safely so that they remain good for years down the road!
Storing Canned Goods Safely
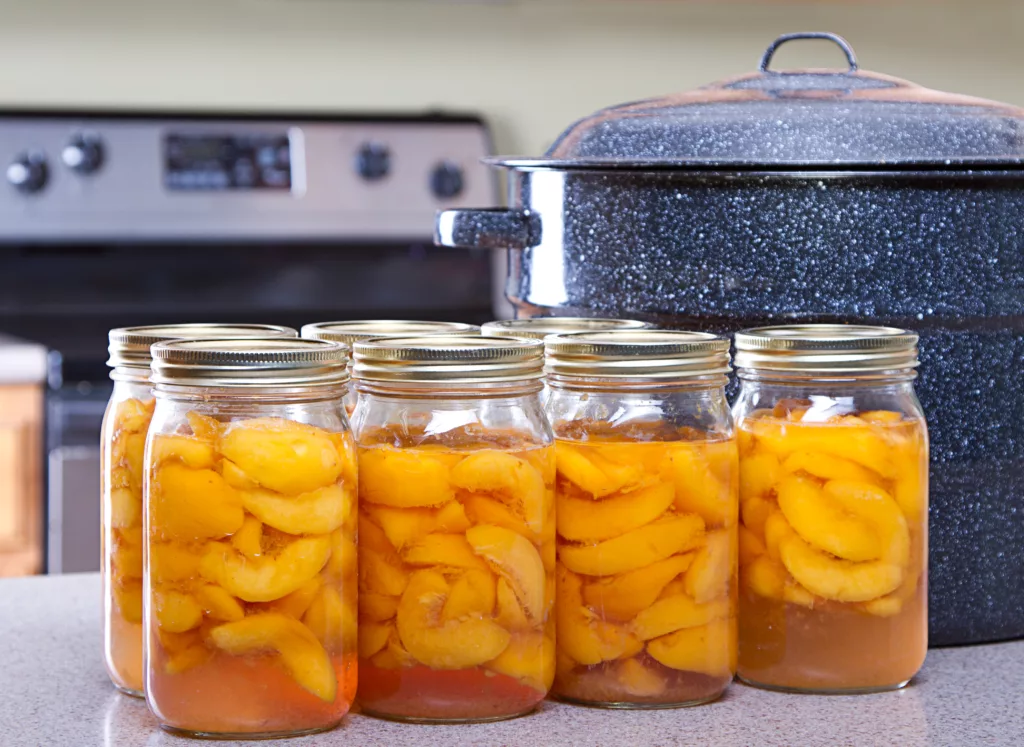
Once the seals on jars have been tested and verified, it’s time to store canned goods safely in order to maximize their shelf life. Canned peaches are particularly prone to spoilage due to the presence of clingstone peaches that can be difficult for acidity levels to penetrate during processing. To ensure your canned goods last as long as possible, make sure they’re kept in an acidic environment with no exposure to oxygen; this is known as anaerobic storage.
In addition, you should also pay attention to how much inch coverage you have in your pantry or cupboard when storing them – too much space between each jar could lead to food waste since air will enter into the containers if not protected properly. If there isn’t enough room for all of your canned goods, consider purchasing a damp cloth and placing it over the top layer before putting them away so that any exposed cans don’t dry out too quickly. It may seem like an extra step but it’ll help keep your goods fresh longer!
Finally, avoid storing cans near heat sources such as electric stoves or ovens – this could cause pressure buildup within the cans which can causes lids to pop off and spoil the contents inside. By keeping these tips in mind, you can rest assured knowing your canned goods are stored correctly and safe from potential contamination!
Shelf Life Of Canned Goods
We all want our canned goods to last forever and ever, don’t we? Well, unfortunately that’s not possible. But there are a few things you can do to make sure your canned goods have the longest shelf life possible:
- Make sure acid foods such as tomato sauce or other acidic fruits are processed in an inch of water for at least 10 minutes.
- Be sure to follow recipes exactly when making your favorite recipes so they turn out perfectly every time.
- Store jars correctly after processing them, providing enough space between each jar and storing in a cool, dark place away from direct sunlight.
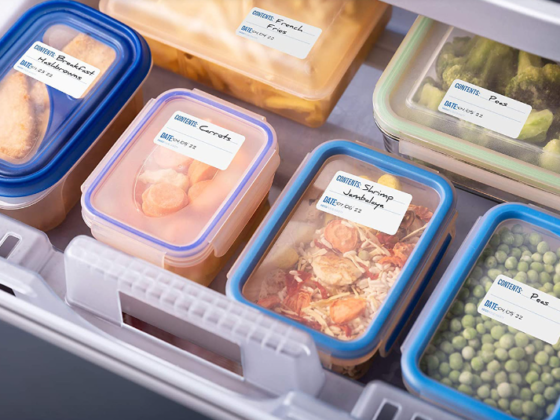
- Don’t forget to label the contents and date of production on the lid of the jar – it will be so helpful if something goes wrong! We wouldn’t want any family with botulism now would we?
So how does this relate to shelf life of canned goods? Well, following these basic steps for successful canning is essential for ensuring your food doesn’t spoil after a few months on the shelf; however, it won’t guarantee that your food remains safe indefinitely – no matter how delicious your recipe for tomato sauce was! To ensure safety over long periods of time remember to practice proper storage techniques and check dates before consuming home-canned products. With careful attention given both during preparation and storage times, you’ll find canning provides many benefits beyond just preserving flavor and nutrition – like peace of mind knowing that your creations won’t cause harm down the line! Now let’s look at alternative uses for home-canned foods…
Alternative Uses For Home-Canned Foods
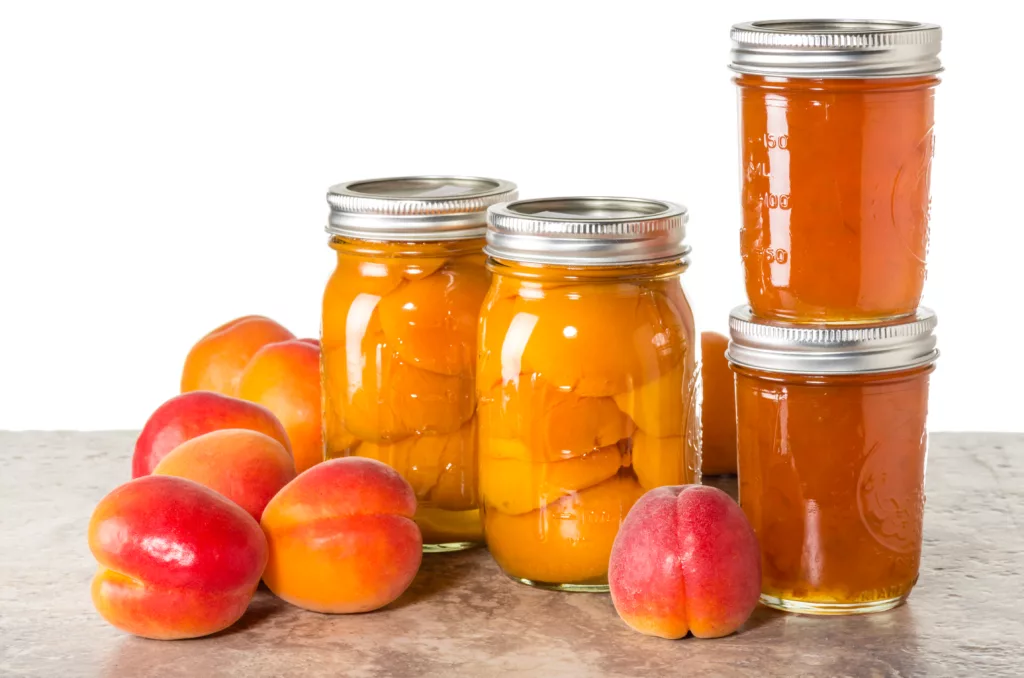
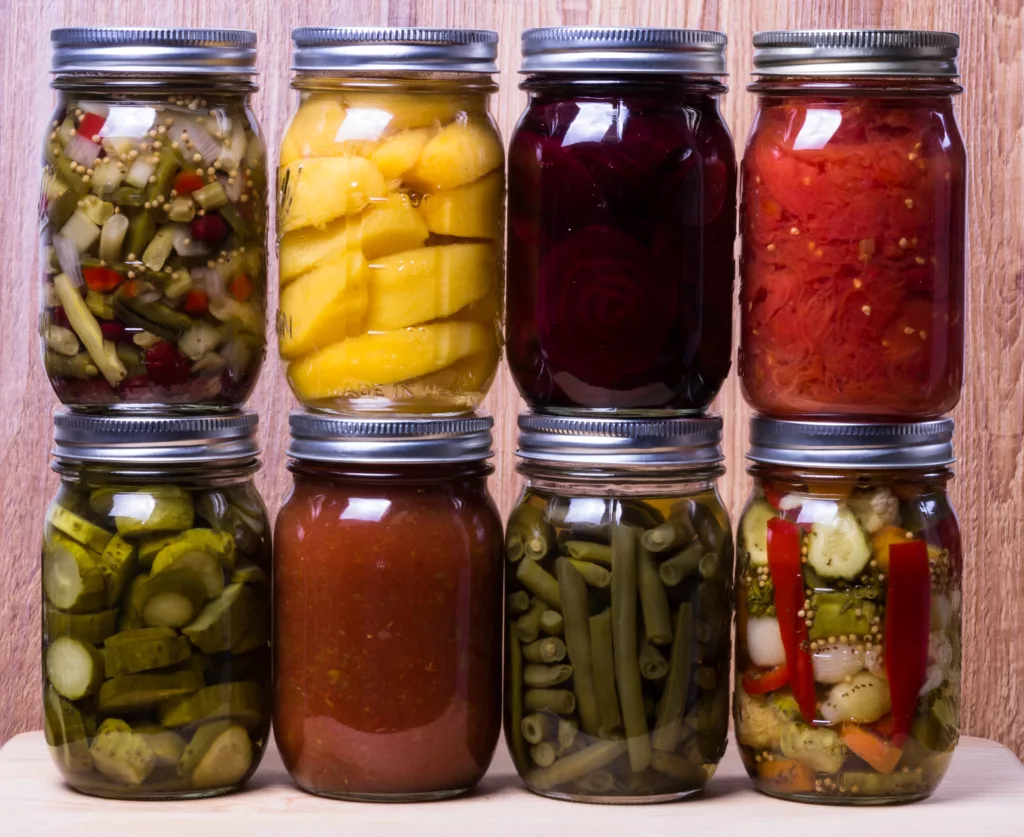
Once you have successfully canned foods, there are many different ways to use them. Home-canned fruits can be eaten as is or used in a variety of recipes such as cobblers, jams and jellies. Vegetables make great side dishes that taste much better than store bought cans. They also come in handy when making soups and stews during the winter months. And don’t forget about pickling! Pickles are not only delicious but they can add an extra tangy flavor to any meal.
When it comes to sauces and condiments, home-canned products often take the cake. You can create your own unique barbecue sauce or ketchup by using tomatoes, peppers, onions and other seasonings to give it a personal touch. The same goes for chutneys, salsas and relishes – all perfect additions to sandwiches or served with meats for dinner. Finally, nothing beats homemade tomato juice on a hot summer day; just throw some vegetables into a pot and simmer away until everything is cooked through before adding spices if desired.
With so many options available, the possibilities are truly endless when it comes to what you can do with home-canned foods! It’s time now to turn our attention towards troubleshooting common canning problems…
Troubleshooting Common Canning Problems
Canning can be a daunting task for even the most experienced of cooks. You’ve got to get your jars sterilized, your lids and rings ready, and all of your ingredients perfectly prepped – it’s enough to make anyone want to throw in the towel! But don’t give up just yet; with a few tips from an expert like yourself, you’ll have no trouble troubleshooting common canning problems.
The first thing you should do when dealing with any type of canning problem is to try and pinpoint what went wrong. Did something happen during the sterilization process? Was there too much or not enough headspace between the lid and jar? Could the boiling water bath time have been off by seconds? Whatever happened, take a step back and analyze the situation before making any drastic moves.
Once you’ve figured out where things may have gone awry, it’s time to start fixing them! Remember that safety comes first when handling food products, so always wear protective gear such as gloves while dealing with hot liquids or sharp equipment. Make sure everything is completely cooled and washed properly after being exposed to high temperatures or coming into contact with anything unsanitary. If necessary, discard any contaminated foods immediately or consult an expert if needed.
Above all else, remember that failure isn’t permanent – unless you let it become so. With some practice and patience you will soon master this art form of preserving delicious foods for generations to come!
Frequently Asked Questions
What Is The Difference Between Water Bath And Pressure Canning?
Canning is a great way to preserve food, but it can be somewhat intimidating if you’re new to the process. You may have heard of water bath and pressure canning, two methods used in the preservation process, but do you know what sets them apart? Let’s explore the difference between these two types of canning and why each one has its advantages for different types of foods.
Water bath canning is suitable for high-acid fruits and vegetables such as tomatoes, pickles, jams, jellies, relishes, chutneys, sauces and salsas. This type of canning requires that your jars are filled with acidic ingredients then heated through boiling water before being sealed tightly. By submerging the jar in hot boiling water until all contents reach an optimal temperature ensures safe preservations by killing any bacteria present in the produce – this method also prevents spoilage or contamination due to air exposure.
Pressure canning gives you access to low acid varieties like green beans and carrots which cannot be safely canned using a water bath method since they require higher temperatures than those achieved during a simple boil. Pressure canners use both heat and pressure to bring the internal temperature up to 240 degrees Fahrenheit – more than enough to kill harmful bacteria while preserving nutritional content at the same time. The combination of steam produced from boiling liquid within your pot along with pressurized air inside provides an ideal environment for long term storage without compromising safety or flavor integrity.
Whether you choose water bath or pressure canning will depend on what type of food you plan on preserving; however regardless of your choice proper preparation techniques should always be followed so ensure best results when storing food for later consumption. It takes some practice but once you get familiarized with each technique it’ll become easier over time!
Is It Safe To Reuse Canning Lids And Jars?
Canning jars and lids are a popular way to store food for long-term use. But is it safe to reuse these materials? The answer depends on the type of material used, how they were stored, and which foods you’re canning.
Canning jar lids are made from metal or plastic and come in either two pieces or one piece varieties. Metal lids should never be reused due to their ability to rust over time, while plastic ones may be able to be reused with caution. If you choose to reuse them, make sure that there aren’t any signs of damage or cracks before using them again. Additionally, always inspect the seal between the lid and the jar before placing your new contents inside.
Foods with high acidity levels such as jams, jellies, pickles, tomatoes, fruits and sauces can typically be canned in glass jars without worry about contamination. However if you’re looking at storing low acidic items like vegetables or meat products then it’s best practice not to reuse jars as bacteria may build up within the walls of the container making it unsafe for consumption.
If you decide to buy reusable equipment when beginning home canning keep an eye out for quality craftsmanship so that your future batches will remain free from spoilage caused by poor storage methods. You’ll also want ensure proper care is taken with cleaning after each use since this part of the process plays a huge role in preventing cross-contamination between batches!
How Do I Know When My Canned Food Has Gone Bad?
Canning is an age-old tradition that has been practiced for generations. However, when it comes to knowing whether your canned food has gone bad or not, the answer isn’t always clear cut. It can be difficult to tell the difference between a jar of delicious jam and one that should promptly be discarded. To help you make sure you’re consuming safe and healthy canned goods, here are 4 tips on how to detect spoiled canned food:
- Look at the expiration date – Many canned foods have an expiration date clearly printed on them; if this date has passed, then it’s best to discard the item.
- Check for signs of spoilage – If there are any visible signs of mold or discoloration on the food itself, throw it out immediately. Additionally, check for bulging lids as these indicate fermentation gases trapped inside the container which could potentially lead to health risks from consumption.
- Smell test – One way to determine if your canned food has gone bad is by doing a smell test – if there’s a strange odor coming from it, chances are something’s wrong and you shouldn’t consume it!
- Taste test – As with all types of foods, tasting small amounts of your canned product can also provide indications as to its freshness (or lack thereof). While taste testing isn’t recommended in general due to potential safety hazards associated with spoiled food, using caution and common sense will ultimately give you peace of mind when determining whether or not your food is still edible.
Ultimately, being aware of these tips can help save you time, money and most importantly keep you healthy while enjoying homemade preserves such as jams, jellies and pickles! By understanding what signs to look for before eating any type of preserved goods from cans or jars, you’ll ensure that each bite is both enjoyable and safe!
What Are The Best Types Of Produce For Canning?
Canning is an age-old method of preserving food, with many people turning to it in recent times due to the economic and health benefits associated with it. But what are the best types of produce for canning?
When selecting fruits and vegetables for canning, pick items that are fresh, firm and have a good color – this will ensure that you’re getting high quality products. Soft produce won’t work well for canning as they lose their texture when cooked. It’s also important to choose fruit or vegetables that aren’t overripe or under ripe; both of these factors could lead to spoilage during storage.
In addition to choosing the right type of produce, make sure to properly prepare them before beginning your preservation process. This includes washing them thoroughly, removing any blemishes, peeling if necessary, and cutting into smaller pieces if needed. Doing so ensures you get the most out of each item you’re canning and increases its shelf life significantly. Once everything is prepped correctly, you’ll be ready to begin your preservation journey!
With proper selection and preparation techniques in mind, some foods lend themselves better than others when it comes to successful home canning projects – such as tomatoes (for sauces/soups), beans (for chili), peppers (for salsa), applesauce (for sweet treats) and jams (sweet spreads). So why not try experimenting by including some of these ingredients in your next project? With just a little bit of effort, you’ll soon be able to enjoy delicious canned delicacies all year round!

How Long Should I Process The Jars In A Water Bath Or Pressure Canner?
Canning is a timeless skill that has been used for generations to preserve food. It involves the placement of produce into jars and then heating them in either a water bath or pressure canner. But how long should one process the jars when using these methods? This question requires further exploration.
The duration of processing jars depends on both the type of product being canned, as well as what method is utilized. For example, if you are using a water bath canner, most fruits will need to be processed between 20-30 minutes while tomatoes will require 35 minutes; however, with a pressure canner, those same products must be processed at 10 pounds of pressure for 15-20 minutes respectively. What’s more, each variety may have different instructions due to its size and density.
Knowing exactly how long to process your goods is paramount to their preservation and ultimate success in your endeavor – it could mean the difference between delicious preserved fruit jams or dangerous bacteria residing in improperly sealed jars! Therefore it pays off to do your research beforehand so you know just how much time needs to go into each jar before storing away this summer’s bounty for future enjoyment. By arming yourself with knowledge about the amount of time needed for processing jars per types of goods and method used, you’ll find yourself mastering this lost art in no time.

Conclusion
Canning is a great way to preserve food for the long-term, with many benefits. It’s easy to learn and can be done with minimal cost or equipment. Plus, it gives you control over ingredients so you can make sure your canned foods are as healthy as possible.
It might seem daunting at first, but once you get used to the process of canning, it quickly becomes second nature. In fact, according to research by the National Center for Home Food Preservation (NCHFP), home-canned products typically last up to two years in optimal conditions! That means that if I start now, my cans will still taste just as good come summertime next year.
So why not give canning a try? With some patience and practice, anyone can become an expert home preserver—and reap all the rewards of enjoying their own homemade jams and pickles well into future summers.